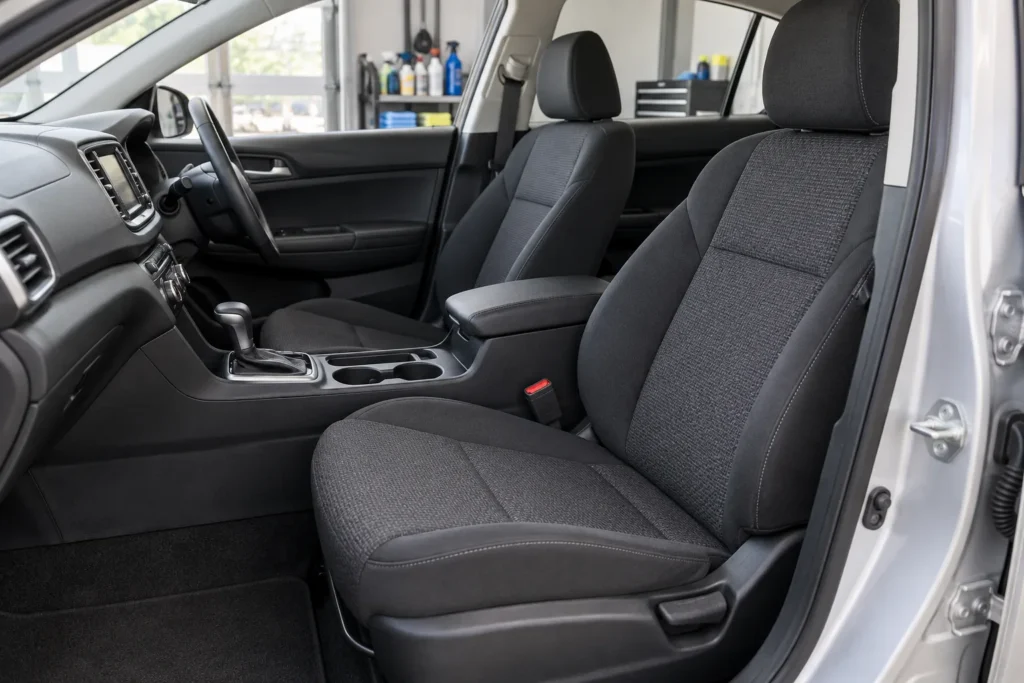
The most useful car seat cleaning tips are to identify the upholstery, remove dry dirt first, use only a compatible cleaner and keep moisture out of the padding and seat equipment. Blot fresh spills promptly, test the proposed method in a hidden area and let the seat dry before using it. Stronger chemicals and harder scrubbing can turn a removable mark into damaged upholstery.
This guide covers the seats built into your vehicle. A child’s removable car seat is safety equipment with separate instructions for its cover, harness and buckle. Do not treat it as another piece of ordinary upholstery.
Identify the upholstery before choosing a cleaner
Check the vehicle handbook, original trim specification or the information supplied with a previous retrim. A seat may combine several materials. Its centre panel, side bolsters and rear covering do not necessarily need the same product.
Appearance is a clue, not a reliable identification test. Embossed synthetic leather can resemble genuine leather, and suede-like textiles can resemble natural suede. Colour coming onto a cloth is a reason to stop and investigate the finish or cleaner. It does not prove the material is leather.
| Seat surface | Care that matters | Avoid assuming |
|---|---|---|
| Woven cloth upholstery | Dry soil removal, compatible spot treatment and controlled moisture | That all fabric accepts steam or household recipes |
| Finished automotive leather | Care matched to its coating and existing condition | That conditioner repairs cracks or every leather needs oil |
| Synthetic leather or vinyl | The manufacturer’s specified cleaning method | That a genuine-leather treatment suits a synthetic surface |
| Alcantara or another suede-like material | Its own instructions for the fibres and texture | That ordinary leather cleaner or a stiff brush is suitable |
If the specification is unclear, begin with gentle dry dust removal and ask for material identification before wet cleaning. A cleaner advertised for “all interiors” still needs checking against the vehicle instructions.
Prepare the seat and test the method
Park securely and allow a sun-heated cabin to cool. Clear loose belongings so you can see the seat edges, seams and controls. Inspect for tears, damaged stitching, worn coatings and existing damp patches before starting.
- Use a vacuum with a smooth nozzle or suitable soft attachment.
- Keep several clean, colourfast cloths for blotting, cleaning and drying.
- Read the cleaner’s material restrictions, dilution and removal instructions.
- Arrange enough time and a secure ventilated location for drying.
Test a small concealed area using the intended dilution and tool. Let the patch dry and inspect it for colour transfer, tackiness, a changed sheen or altered texture. A wet patch can temporarily hide a difference. Stop if the finish changes, even when the bottle describes the product as gentle.
Protect switches, seat controls, buckle openings, airbag covers and accessible electrical connections from liquid. Do not unplug under-seat wiring or remove a powered seat to reach a stain. If a spill has soaked through or a restraint warning appears, have the equipment assessed.
Use one compatible product at a time. Combining products makes the result harder to predict and can conflict with their instructions. More cleaner is not a substitute for checking what the mark actually is.
Remove dust and crumbs before wet cleaning
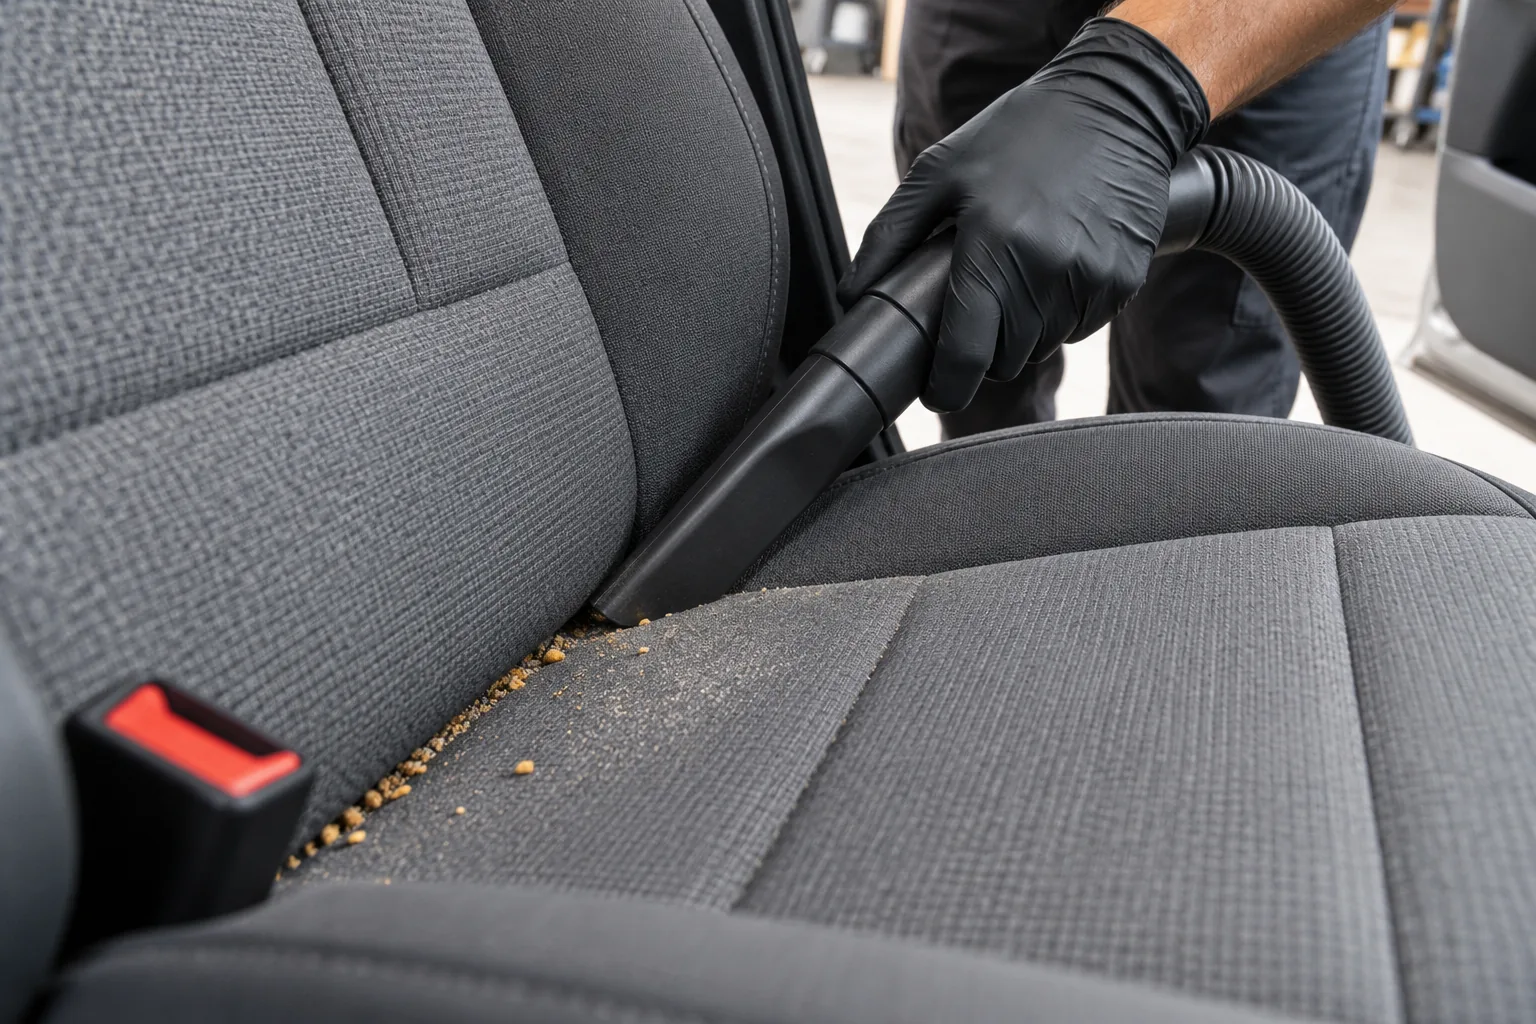
Vacuum the backrest, cushion, accessible seams and the gap between the cushion and backrest. Work gently so the nozzle lifts particles rather than scraping the surface. Dry grit left behind can be dragged across the upholstery during wiping.
For fabric, a suitable gentle brush or upholstery hair-removal tool may help release pet hair before another vacuum pass. Test it first and stop if it pulls fibres or changes the texture. Do not use an abrasive tool simply because hair is stubborn.
Loose dried mud is best lifted carefully before treating the remaining mark. Avoid grinding it into the seat with a wet brush. Coins, crumbs and debris near seat rails should be removed without forcing tools into mechanisms or disturbing cables.
Dry cleaning may be enough for a dusty seat with no sticky residue or stain. There is no benefit in soaking a clean cushion just because a deep-cleaning routine says every seat must be shampooed.
Clean cloth seats with controlled moisture
After vacuuming and a successful test, follow the upholstery cleaner’s instructions for the specific fabric. Use the least liquid needed for the task. Where the directions allow it, apply the product to a cloth or suitable tool rather than spraying the cushion heavily.
- Remove loose solids and blot fresh liquid with a clean absorbent cloth.
- Apply the tested treatment in the quantity and manner specified.
- Use gentle agitation only when the fabric and product permit it.
- Remove loosened soil and residue using the specified wiping or extraction method.
- Allow complete drying before deciding whether further treatment is needed.
Work carefully across a defined upholstery panel if the instructions call for even cleaning. A repeatedly soaked spot can leave a visible boundary. Do not flood the rest of the seat merely to hide a ring.
An extraction machine recovers liquid from suitable upholstery. A steam machine uses heat and is a different tool. Neither is automatically appropriate for every cloth seat, adhesive, coating or electrical assembly. A household carpet-cleaning method should not be transferred to the car without checking compatibility.
If using an approved extraction method, follow the equipment directions and avoid repeated wet passes into the cushion. A wet surface that looks clean still needs adequate recovery and drying. Leave a deeply soaked seat to a provider who can assess the padding and equipment.
Wipe leather and synthetic finishes without soaking
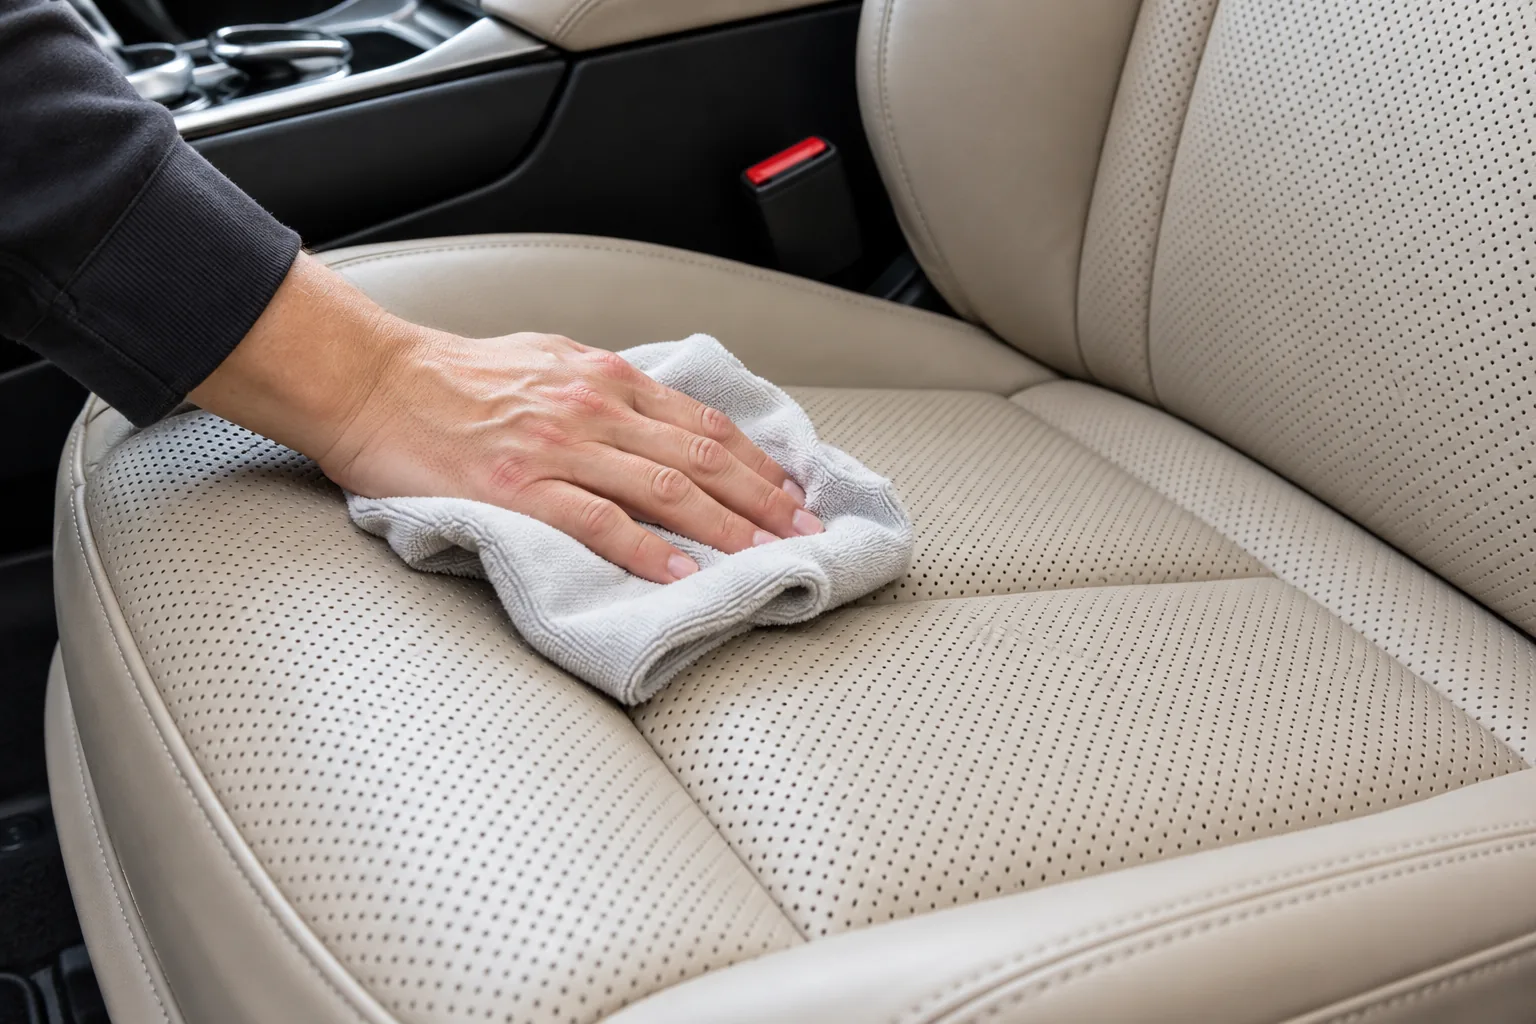
For routine surface dirt, start with the vehicle’s stated method and a clean soft cloth. Keep the surface lightly damp rather than wet and remove residue as directed. Avoid rubbing hard against creases or already worn bolsters.
Manufacturer instructions differ. Some finished leather accepts an automotive leather cleaner, while a synthetic seat may specify mild soap and water and discourage additional conditioners. “Vegan leather” is not a reason to apply genuine-leather oils.
The Model 3 cleaning instructions, for example, discourage extra treatments on its vegan leather. Use the instructions for your own upholstery, model and specification. Advice for a different seat colour or model is not blanket permission to use alcohol.
Keep moisture and residue out of perforations. Do not push foam into the holes or spray cleaner directly into them. Ask about a permitted method before treating a ventilated cushion. Surface perforations do not establish that the padding underneath is washable.
Conditioning is a separate decision. Check whether the manufacturer recommends it and which product is compatible. Cleaning cannot rebuild a torn cover or restore missing surface coating, and a glossy or greasy finish is not proof of healthy leather.
Use separate care for suede-like seat inserts
Genuine Alcantara has its own maintenance instructions. Begin by removing dust gently and preserve the material’s texture. Its official cleaning guidance advises against vigorous rubbing and steam machines.
A suede-like insert is not necessarily Alcantara. Natural suede and other microfibre textiles can have different requirements. Confirm the material before applying water, stain remover or a leather product.
Where damp cleaning is permitted, keep it controlled and follow the specified drying and gentle brushing guidance. Do not attack a flattened or shiny patch with a stiff brush. The appearance may reflect wear rather than dirt.
Machine-washing instructions for a removable textile cover do not mean an installed seat cover should be stripped off and washed. Upholstery removal may involve fasteners, sensors or airbag deployment seams. Discuss specialist treatment if the usual light maintenance is insufficient.
Choose the response from the spill or mark
Tell the cleaner what spilled, when it happened and what you already applied. Coffee with milk, plain water and oily sunscreen are different jobs. A visible mark does not reveal whether contamination has reached the foam.
| Problem | Sensible first response | When to stop |
|---|---|---|
| Fresh coffee or juice | Blot liquid promptly, then use the material’s permitted treatment | The area stays wet, the mark spreads or the finish changes |
| Food residue or grease | Lift loose material gently and check a compatible treatment | Removal requires a stronger solvent or aggressive rubbing |
| Dried mud and sand | Remove loose particles before addressing the remaining mark | The tool snags fibres or scratches the surface |
| Ink or clothing dye | Document the mark and seek material-specific advice | The proposed cleaner has not been approved for that finish |
| Water ring or returning stain | Allow drying and assess residue, padding and the earlier treatment | Further soaking is the only proposed solution |
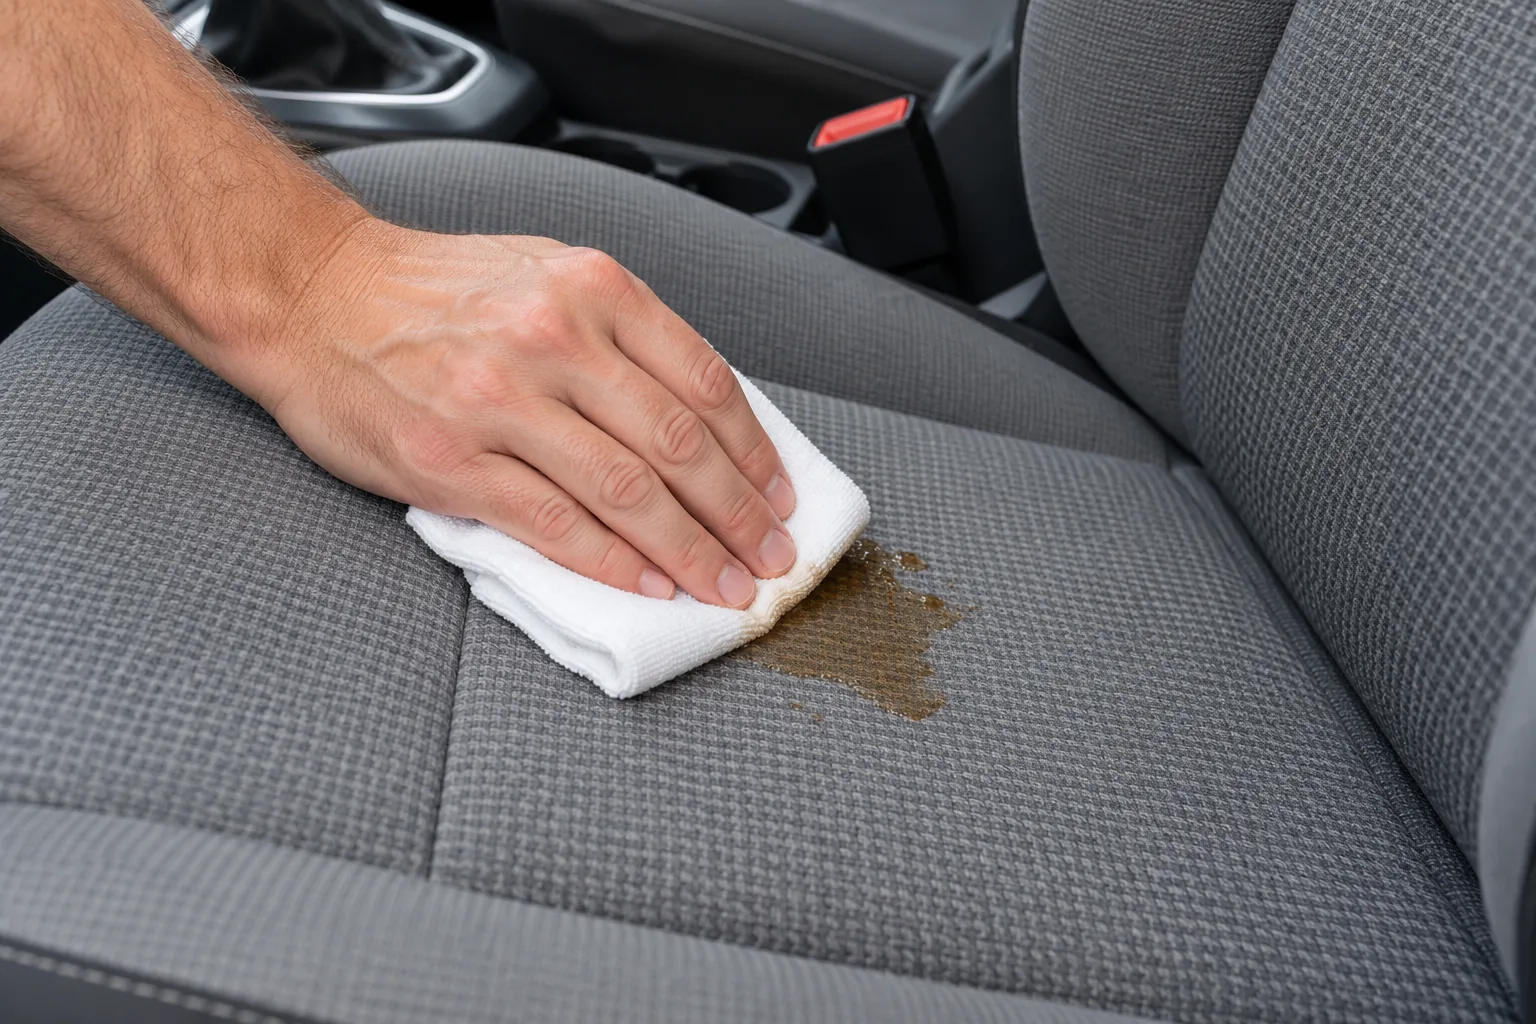
Blotting means pressing a clean absorbent area onto liquid and lifting it away. Change to a clean part of the cloth as it becomes wet. Work carefully to avoid spreading the spill over a larger area.
Do not treat vinegar, baking soda, washing-up liquid or an enzyme cleaner as universal stain removers. Even a purpose-made stain product has material and dilution restrictions. Household availability does not establish upholstery compatibility.
For ink, dye transfer and old staining, a cautious assessment may preserve more of the original finish than repeated home experiments. Some discolouration remains after the removable residue is gone. Agree a realistic improvement rather than a guaranteed invisible repair.
Check drying before using or covering the seat
Drying time depends on the material, padding, liquid used and ventilation. Dubai heat does not prove that a damp cushion is dry inside. Humid weather and a closed cabin can also change the drying conditions.
Remove surface moisture as the method allows and arrange secure airflow without exposing the car to rain, dust or theft. Avoid improvised heat guns and very hot dryers. Heat can affect finishes and is prohibited by some manufacturer instructions.
- Inspect seams and cushion edges as well as the centre panel.
- Check whether a clean dry absorbent cloth picks up moisture.
- Review any area that still feels damp or develops a musty smell.
- Ask the cleaner when the seat can be used and what to do if dampness remains.
A dry surface check cannot certify that saturated foam is dry. If the spill was substantial, arrange assessment rather than covering the cushion and continuing to use it. Keep absorbent blankets and protective covers off damp upholstery.
A stain can reappear as moisture or residue moves through the fabric during drying. Photograph the result and discuss the earlier treatment before repeating it. More water may prolong the problem instead of correcting it.
Find the source of a smell before treating it
A spill beneath a cushion, damp carpet, food trapped beside a rail and smoke contamination can require different work. Inspect accessible areas without removing seat components. If the smell mainly appears through the vents, seat shampooing alone may not address the source.
Remove accessible debris and deal with the known spill using a suitable method. Do not describe fragrance, charcoal bags or powder as a permanent repair for soaked padding or a continuing leak. Covering the smell makes it harder to judge whether the cause remains.
Visible mould, prolonged dampness, flood contamination or significant bodily-fluid soiling deserves an assessment of the affected materials and safe treatment scope. Avoid disturbing contamination with vigorous dry brushing or spraying an unidentified chemical over it.
Cleaning removes soil. A sanitising or disinfecting claim needs a suitable product, approved surface and correct application conditions. Ordinary steam passes or enzyme cleaner do not by themselves establish complete bacterial removal. Ask what process is proposed rather than accepting “germ-free” as an automatic outcome.
Clean child restraints using their own instructions
Find the restraint’s exact model instructions before removing its cover or treating a spill. Covers, harness webbing, buckles and energy-absorbing components have different restrictions. A product suitable for the vehicle’s seat may be unsuitable for the restraint.
Follow the care label for the cover. Do not assume that it can be machine washed or tumble dried. Harnesses and buckles need their own prescribed cleaning method, and should not be soaked or exposed to solvents unless the manufacturer expressly allows the relevant action.
Britax’s cleaning instructions illustrate why these parts must be treated separately. They are a reference for Britax products, not replacement instructions for every brand.
Reassemble and reinstall the restraint according to its manual, with the required function and installation checks. Contact its manufacturer if a buckle does not operate correctly, a harness is damaged or contamination cannot be removed within the allowed method.
Use liners or seat protectors only when approved for the specific restraint and installation. More padding or an apparently convenient cover is not automatically a safe addition.
Recognise when cleaning needs professional help
Routine vacuuming and a small compatible surface treatment are reasonable home-care tasks. Persistent odours, unknown finishes, extensive dampness and old dye transfer may need a more careful assessment. Paying for the largest package is not automatically the right answer.
For tears, coating loss or worn bolsters, discuss upholstery repair rather than asking for stronger cleaning. A stain and missing colour can look similar in a photograph but require different work.
Before approving treatment, agree which seats and surrounding areas are included, the proposed method, any existing damage and the expected result. Tell the provider about heated or ventilated seats, previous repairs and any product already applied.
- Confirm whether the job is one stained area, all seats or a complete cabin.
- Ask how sensitive features and trim will be protected.
- Discuss marks that may remain without damaging the finish.
- Agree collection timing, drying guidance and follow-up for a returning stain.
Compare cleaning prices against the included scope
The current estimates for our interior detailing cover the cabin rather than a single seat. They include vacuuming, careful surface cleaning and suitable treatment of seats, mats and carpets. A seat-only stain quotation should identify its own scope.
| Interior-detail scope | Estimate including 5% VAT | Important distinction |
|---|---|---|
| Typical sedan cabin | AED 300–600 | Whole interior estimate, not a per-seat tariff |
| Typical SUV cabin | AED 400–800 | Vehicle size and condition affect the agreed work |
These existing service-page estimates were checked on 6 October 2026. Heavy soiling, specialist odour treatment, soaked padding and repairs are assessed separately. Confirm the complete price and included work before booking.
A basic wash with vacuuming, a targeted stain treatment and a detailed interior clean are different services. Compare like-for-like inclusions instead of multiplying an unsupported per-seat figure across the car.
Reduce dirt buildup with simple regular care
Choose the cleaning frequency from use and condition. Visible crumbs, dust in seams or a fresh spill are more useful triggers than a fixed deep-cleaning interval for every car. Gentle maintenance can reduce the need for repeated wet treatment.
Keep a clean absorbent cloth available for spills and remove food waste promptly. For beach trips, remove loose sand before wiping. After carrying pets, clear hair using a suitable gentle tool rather than letting it collect in seams.
Use shaded parking where practical and follow the upholstery’s permitted care. Do not add protective sprays or oils on a schedule unless the seat manufacturer and product instructions support that treatment.
Any vehicle-seat cover also needs compatibility with side airbags, occupancy sensing and the seat’s comfort features. A washable accessory is useful only when it fits the vehicle and does not interfere with its safety equipment.
Questions about cleaning and caring for car seats
What is the safest place to start?
Confirm the material, vacuum loose dirt gently and follow the vehicle’s care instructions. Test any permitted wet treatment in a concealed area and inspect it after drying before cleaning more of the seat.
Can a pH-neutral cleaner be used on every seat?
No. That description does not establish compatibility with every coating, synthetic surface or textile. Check the specified material, product restrictions and the vehicle instructions.
Should I use vinegar or baking soda on a stain?
Do not make either a default treatment. Follow the approved method for your upholstery. Residue, colour changes and moisture can make further treatment more difficult.
Does leather conditioner fix cracked seats?
No. Check whether conditioning is recommended at all. Torn material, missing coating or a damaged bolster may need repair. More oil or a shinier finish does not restore the missing structure.
Can I steam-clean perforated or Alcantara seats?
Do not assume steam is suitable. Alcantara’s guidance discourages steam machines, while perforated and equipped seats need their own vehicle-specific care. Confirm a permitted method before treatment.
Why did the stain come back after drying?
Remaining contamination or residue may show again as the upholstery dries. Document it and discuss the earlier method. Repeatedly soaking the same area can leave more moisture in the padding.
How long should I wait before sitting on the seat?
Wait until it has dried adequately under the stated care instructions. There is no reliable universal number of hours. A heavily soaked cushion needs more assessment than a lightly wiped surface.
Will professional cleaning remove every stain and smell?
No. Permanent discolouration, damaged coating, contamination in padding or a continuing leak may remain or require separate work. Agree the expected improvement and treatment limits before starting.
Discuss cleaning for your car seats
Send your car model, upholstery details and clear photos of the marks. Tell our Al Quoz team what spilled and which products you have already used so we can discuss suitable cleaning or repair before you book.